Are you getting ready to sell your home? One of the key areas that potential buyers will focus on is the kitchen. It's no secret that a beautiful, well-maintained kitchen can significantly increase the value and appeal of your property. If your kitchen cupboards are looking worn or outdated, don't worry!
With a little bit of time and effort, you can easily transform them into a stylish focal point that will impress any buyer. A kitchen sells houses its as simple as that and having a kitchen that appeals to all trends is vital
In this article, we will guide you through the process of painting your kitchen cupboards to prepare for a home sale. We'll start by assessing the condition of your cupboards to determine if they need any repairs or adjustments before painting.
Next, we'll show you how to clean and remove hardware from the cupboards in order to achieve a smooth painting surface. Then, we'll explain the importance of sanding and priming the surfaces before applying paint to ensure long-lasting results. Additionally, we'll help you choose the right type of paint and color scheme that will complement your kitchen's style while appealing to potential buyers.
Finally, we'll provide tips on adding finishing touches and maintaining your newly painted cupboards so they continue to look great even after many years of use. By following these steps, you'll be well on your way to creating an inviting kitchen space that will leave a lasting impression on prospective buyers during open houses or showings.
Assessing the Condition of Your Cupboards
You should take a close look at your cupboards to see if they have any scratches or dings that need to be repaired before painting. Evaluating the durability of your cupboards is essential in determining whether they can withstand the painting process. Scratches and dings not only affect the appearance of your cupboards but also their overall condition. Repairing these imperfections will ensure that the paint adheres smoothly and provides a flawless finish.
By assessing the condition of your cupboards, you can identify any areas that require repairs and address them before moving forward with painting. Determining the cost involved in repairing your cupboards is another crucial aspect to consider. Some scratches or dings may be minor and easily fixed with touch-up paint, while others might require more extensive repairs such as filling, sanding, or even replacing damaged sections. Taking time to evaluate these costs beforehand will help you plan your budget accordingly and avoid unexpected expenses down the line. Additionally, it allows you to decide whether it's financially viable to invest in repairing your cupboards for a home sale or consider alternative options.
Now that you've assessed the condition of your cupboards and determined any necessary repairs, it's time to move on to cleaning and removing hardware. This step ensures that there are no dirt, grease, or grime residues left on the surfaces, which could affect paint adhesion. Removing hardware such as handles and knobs not only makes cleaning easier but also prevents them from getting painted over accidentally. Cleaning thoroughly prepares your cupboards for painting by providing a clean canvas for better adhesion and achieving professional-looking results.

Cleaning and Removing Hardware
To get started, begin by cleaning and removing any hardware from the kitchen cabinet doors. Cleaning techniques may vary depending on the material of your cupboards, but generally, a mild solution of dish soap and warm water works well. Use a soft cloth or sponge to gently scrub away any dirt or grease buildup.
For tougher stains, you can try using a mixture of baking soda and water as a natural abrasive cleaner. Once your cupboards are clean, make sure to dry them thoroughly to prevent any water damage.
Next, it's time to organize supplies for the painting process. Gather all the necessary tools such as screwdrivers, pliers, and painters tape. You'll need these to remove any knobs, handles, or hinges from your cabinet doors. Place them in a labeled baggie or container so they don't get lost during the painting process. This'll also make it easier for you when it comes time to reattach them later.
Now that your cupboards are cleaned and the hardware is removed, you're ready to move on to sanding and priming the surfaces. This step is crucial as it helps create a smooth base for paint adhesion and ensures a professional-looking finish. By sanding down any rough patches or existing paint layers, you'll be able to achieve an even surface that allows primer and paint to adhere properly.
Sanding and Priming the Surfaces
Get ready to transform your kitchen cabinets by sanding and priming the surfaces for a smooth and professional-looking finish. Surface preparation is crucial in achieving a flawless result, so make sure you dedicate enough time and effort to this step.
Start by thoroughly cleaning the surfaces with a mild detergent and water solution to remove any grease or dirt. Once they're dry, grab some sandpaper and gently sand the cabinet doors, drawers, and frames. This'll help create a rough surface that allows the primer to adhere better.
After sanding, it's time to apply the primer. Choose a high-quality primer specifically designed for painting kitchen cabinets. Use a brush or roller to apply an even coat of primer on all surfaces that'll be painted. Pay attention to corners, edges, and hard-to-reach areas to ensure complete coverage. The primer won't only provide better adhesion for the paint but also help seal any stains or imperfections on the wood.
With surface preparation complete, you're now ready to move on to the next step: choosing the right paint and color for your kitchen cabinets. By properly sanding and priming first, you've created the perfect canvas for your desired paint color to shine through without any blemishes or unevenness. So let's dive into selecting a paint that fits your style and complements your kitchen decor seamlessly.
Choosing the Right Paint and Color
When considering the perfect paint and color for your cabinets, it's important to select a hue that harmonizes effortlessly with your kitchen decor. Painting techniques play a crucial role in achieving a professional finish, so take some time to research different methods and find one that suits your skill level.
If you're unsure about tackling this project yourself, don't hesitate to seek professional help. They have the expertise and tools necessary to ensure a flawless result.
Before diving into the world of paint colors, consider the type of paint that will work best for your cupboards. For kitchen cabinets, it's recommended to use a durable enamel or latex paint that can withstand daily wear and tear. These types of paints are easy to clean and maintain, ensuring longevity for your newly painted cupboards. Additionally, choose a high-quality paint that will provide good coverage with fewer coats.
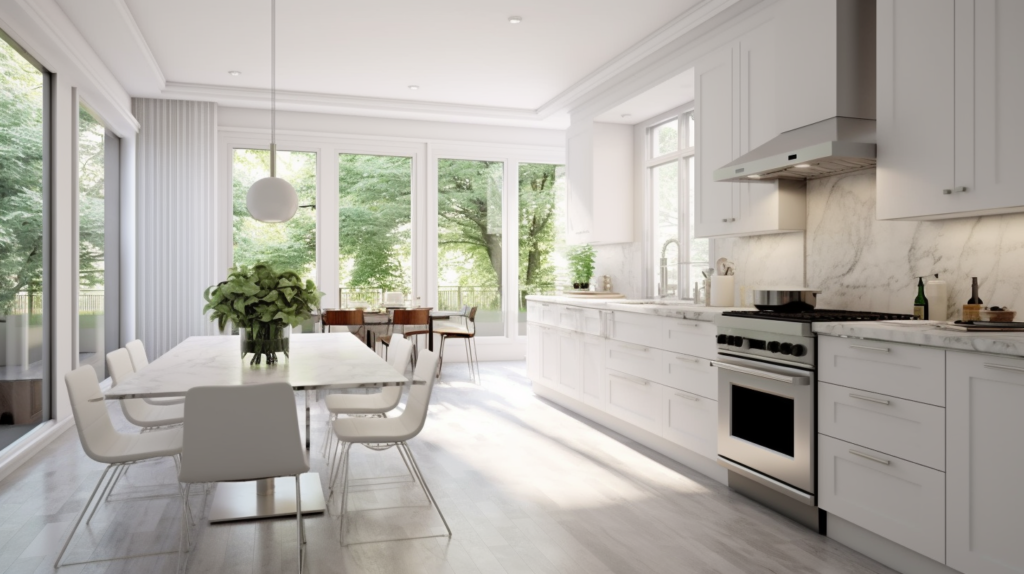
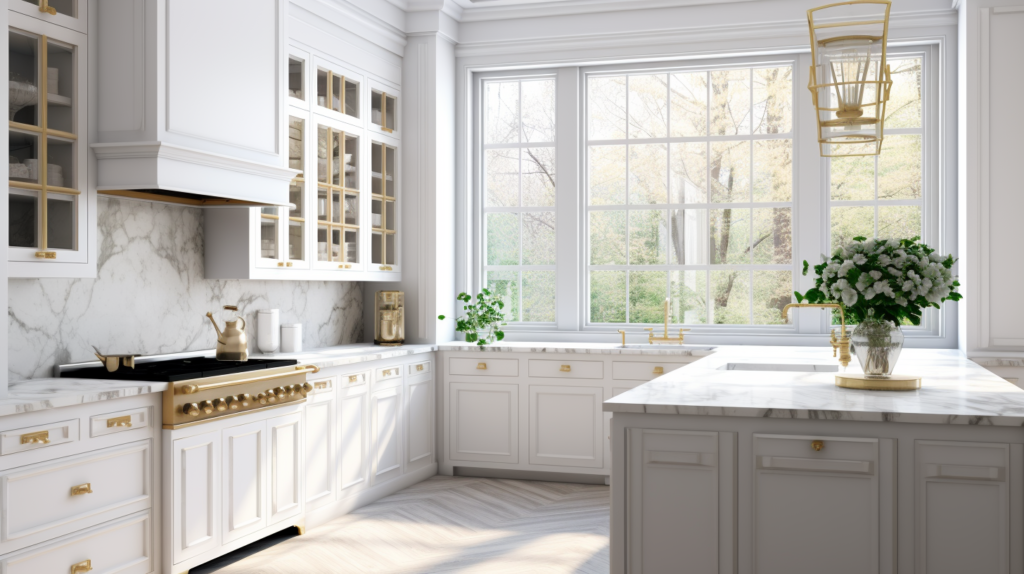
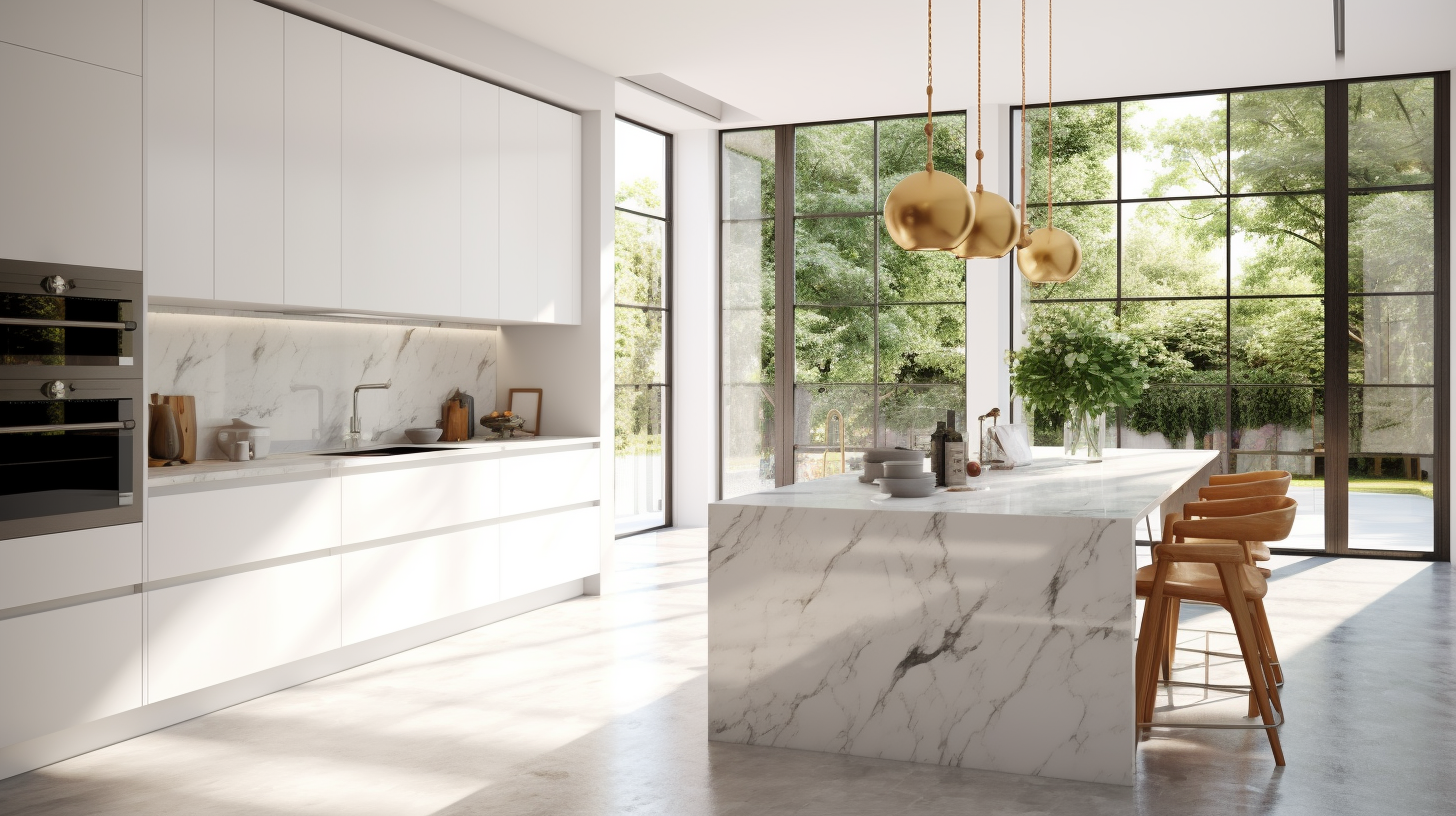
Now comes the fun part - choosing the right color! When selecting a color for your kitchen cupboards, think about the overall look you want to achieve. Neutral shades like white or gray are timeless options that can create an airy and fresh atmosphere in your kitchen. If you're feeling more adventurous, consider bold shades like navy blue or emerald green for a statement-making focal point. Remember to take into account other elements in your kitchen such as countertops and backsplash when choosing a color palette.
Transitioning into the subsequent section about applying the paint to your cupboards is essential for achieving professional-looking results without writing 'step'. Once you have chosen the perfect paint and color combination, it's time to bring new life to those tired cupboards by applying the paint with precision and care.
Applying the Paint to Your Cupboards
Now it's time to give your cupboards a fresh new look by applying the paint with precision and care. When it comes to painting techniques, there are a few key tips to keep in mind.
First, make sure to clean your cupboards thoroughly before starting. Remove any grease or dirt using warm soapy water and allow them to dry completely. This will ensure that the paint adheres properly and gives you a smooth finish.
Once your cupboards are clean and dry, it's important to choose the right paintbrush for the job. For a smooth application, consider using a high-quality synthetic bristle brush. These brushes are designed to hold more paint and distribute it evenly on the surface, resulting in a professional-looking finish. Avoid using cheap or worn-out brushes as they can leave streaks or brush marks on your cupboards.
When applying the paint, start by using long even strokes in one direction. This will help prevent visible brush strokes and create a seamless finish. Work methodically from top to bottom, ensuring that each section is evenly covered before moving on to the next. Take your time and be patient – rushing through this step may result in an uneven application.
With the painting complete, you're now ready to add those finishing touches that will truly transform your cupboards. But we'll save that for the next section where we'll discuss how small details like new hardware or decorative accents can elevate the overall look of your kitchen cabinets without much effort at all!
Adding Finishing Touches
Finally, it's time to put the cherry on top and add those final touches that will truly make your cupboards shine! When it comes to painting techniques, there are a few cost-effective solutions you can consider.
One option is to use a stencil or decal to create intricate designs on your cupboard doors. This can add a touch of elegance and sophistication to your kitchen while still keeping costs low.
Another technique is distressing, which involves lightly sanding certain areas of the painted surface to give it a worn, vintage look. This can be achieved by using sandpaper or even steel wool.
In addition to these painting techniques, there are other finishing touches you can incorporate into your kitchen cupboard makeover. Consider adding new hardware such as knobs or handles that complement the overall theme of your kitchen. This small change can make a big difference in the overall appearance of your cupboards.
You may also want to think about adding some decorative trim or molding around the edges of the doors for an extra touch of style.
By implementing these painting techniques and adding those finishing touches, you'll be able to transform your outdated kitchen cupboards into something truly remarkable. Now that you have completed this step in the process, it's important to know how to maintain and care for your newly painted cupboards. So let's move on to the next section where we will discuss some tips and tricks for keeping them looking fresh and beautiful for years to come.
(Note: The subsequent section will focus on 'maintaining and caring for your painted cupboards')
Maintaining and Caring for Your Painted Cupboards
To keep your newly painted cupboards looking fresh and beautiful for years to come, you'll need to follow some simple maintenance tips.
Curing and sealing the paint is essential to ensure its longevity. Allow the paint to cure completely before using your cupboards. This typically takes about a week, but refer to the manufacturer's instructions for specific drying times. Once cured, apply a clear sealant over the paint to protect it from moisture and stains.
Preventing chips and scratches on your painted cupboards is important in maintaining their appearance. Avoid slamming cupboard doors or drawers shut as this can cause the paint to chip. Instead, close them gently and use soft-close mechanisms if available. Additionally, be mindful of sharp objects or metal utensils that could scratch the surface of your cupboards. Use protective pads or mats when placing these items on shelves or inside drawers.
Regular cleaning is crucial for keeping your painted cupboards in top condition. Wipe down the surfaces with a mild detergent solution and a soft cloth regularly to remove dust, grease, and spills. Avoid abrasive cleaners or scrubbing brushes that can damage the paint finish. When cleaning, be sure to dry any wet spots immediately as prolonged exposure to moisture can cause the paint to peel or bubble.
Incorporating these maintenance tips into your routine will help preserve the beauty of your painted cupboards for years ahead. By properly curing and sealing the paint, you can prevent premature wear and tear. Taking caution when closing doors and avoiding sharp objects will minimize chips and scratches on the surface. Regular gentle cleaning will keep your cupboards looking fresh and free from dirt build-up. With these simple steps, you can ensure that your kitchen remains an attractive selling point in your home sale journey.

Frequently Asked Questions
How long does the painted finish on kitchen cupboards typically last before it needs to be touched up or repainted?
The painted finish on kitchen cupboards typically lasts several years before needing touch-ups or repainting. To maintain its longevity, follow these maintenance tips to ensure a fresh and appealing look for potential buyers.
Can I paint over laminate or melamine cupboards, or does the surface need to be prepared differently?
Yes, you can paint over laminate or melamine cupboards. However, the surface needs to be prepared properly by cleaning, sanding, and applying a primer. This will ensure that the paint adheres well and provides a long-lasting finish.
Is it necessary to remove all the hardware from the cupboards before painting, or can I paint around it?
When painting around hardware, it's best to remove it for a smoother finish. Pros of removing include easier access and a professional look. Cons include extra time and effort. Consider your goals and abilities before deciding.
What type of paint finish is best for kitchen cupboards to ensure durability and easy cleaning?
For the best paint finish on kitchen cupboards, choose a durable and easy-to-clean option. Consider using semi-gloss or high-gloss paint colors. Semi-gloss offers good durability and is easier to clean, while high-gloss provides maximum durability and a sleek look.
Are there any specific cleaning products or techniques that should be avoided to prevent damage to the painted cupboards?
To prevent damage to your painted cupboards, avoid using harsh cleaning products like abrasive scrub brushes or ammonia-based cleaners. Instead, opt for gentle alternatives like mild soap and water or vinegar and water solutions.
Conclusion
In conclusion, preparing your kitchen cupboards for a home sale requires careful assessment, thorough cleaning, and preparation, and skillful application of paint. By following the steps outlined in this article, you can transform your outdated or worn cupboards into a fresh and appealing feature that will attract potential buyers.
Firstly, it's essential to assess the condition of your cupboards. Look for any signs of damage or wear, such as chipped paint or loose hinges. Take the time to clean and remove any hardware before proceeding with sanding and priming the surfaces. This step ensures that the paint adheres properly and provides a smooth finish.
Next, choosing the right paint color is crucial in creating an inviting atmosphere in your kitchen. Consider neutral tones such as white or light gray, which are popular choices among homebuyers. Additionally, make sure to use high-quality paint that's specifically designed for kitchen cabinets to ensure durability.
Once you've selected the perfect paint color, apply it evenly across your cupboards using long strokes with a brush or roller. Be sure to allow each coat to dry fully before applying additional layers. Finally, add finishing touches such as new hardware or decorative accents to enhance the overall look of your painted cupboards.
To maintain and care for your newly painted cupboards, avoid using abrasive cleaners that could damage the finish. Instead, opt for gentle cleaning solutions and regularly wipe down surfaces with a soft cloth. With proper maintenance, your painted cupboards will continue to impress potential buyers long after they've moved into their new home.
In summary, by investing time and effort into painting your kitchen cupboards before listing your home for sale, you can significantly increase its appeal to potential buyers. Following these steps will ensure that your cupboards look fresh and modern while also providing longevity in terms of durability. So go ahead and give those tired old cupboards a makeover—you'll be amazed at how much difference it makes!
