Transforming rental kitchen cabinets through hand-painting requires careful planning and landlord approval. Start by documenting original cabinet conditions and obtaining written permission for modifications. Essential tools include quality brushes, foam rollers, and cabinet-specific paints like chalk paint or cabinet enamel. Proper preparation involves thorough cleaning, light sanding, and protecting hardware. Apply thin, even coats using consistent brushstrokes, allowing adequate drying time between layers. Regular maintenance with gentle cleaning guarantees longevity. With the right approach, hand-painted cabinets can dramatically update your rental kitchen while preserving your security deposit. Our extensive guide reveals professional techniques for achieving the perfect finish.
- Understanding Rental Property Painting Rules
- Essential Tools and Materials
- Choosing Your Color Scheme
- Preparing Cabinets for Paint
- Hand-Painting Techniques That Work
- Creating Depth Through Brushwork
- Decorative Hardware Updates
- Temporary Design Elements
- Quick-Drying Paint Options
- Protecting Your Security Deposit
- Easy Cabinet Maintenance Tips
- Restoring Original Cabinet Appearance
- Frequently Asked Questions
- Conclusion
Understanding Rental Property Painting Rules
Before starting on any kitchen renovation project in a rental property, tenants must thoroughly understand their lease agreement and local regulations regarding painting and modifications. Most rental agreements require written permission from landlords before making any changes to cabinet surfaces or permanent fixtures.
Some property owners allow cabinet painting with specific conditions, such as using approved colors or hiring professional painters. Others may require restoration to the original condition upon move-out. To protect security deposits, document the cabinets' initial condition with photographs and obtain written approval detailing permitted modifications. Consider removable options like peel-and-stick wallpaper or temporary hardware changes if painting isn't allowed. When permission is granted, follow proper preparation techniques and use high-quality, tenant-friendly paints that guarantee easy restoration if needed.
Essential Tools and Materials
Getting started with a rental kitchen makeover requires a carefully curated set of tools and materials for successful cabinet transformation. Essential supplies include high-quality paint brushes in various sizes, foam rollers for smooth application, painter's tape for clean edges, and fine-grit sandpaper for surface preparation. Drop cloths protect floors and countertops during the painting process.
For proper surface preparation, gather TSP cleaner or a heavy-duty degreaser, wood putty for filling holes, and a quality primer specifically designed for cabinets. Select paint from trusted brands like Benjamin Moore or Sherwin-Williams, choosing finishes that withstand kitchen wear. Additional tools include a screwdriver for hardware removal, cleaning cloths, and protective gear such as gloves and a face mask for safety during sanding and painting.
Choosing Your Color Scheme
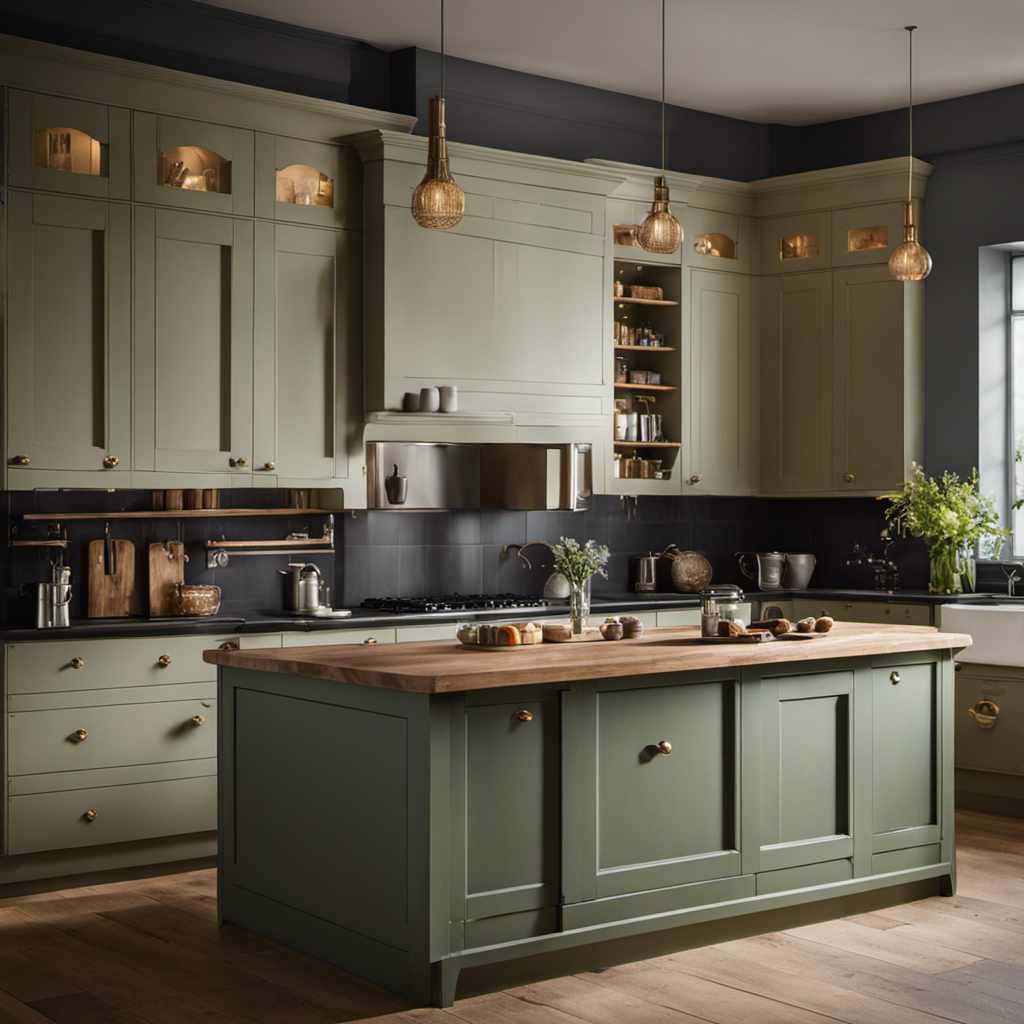
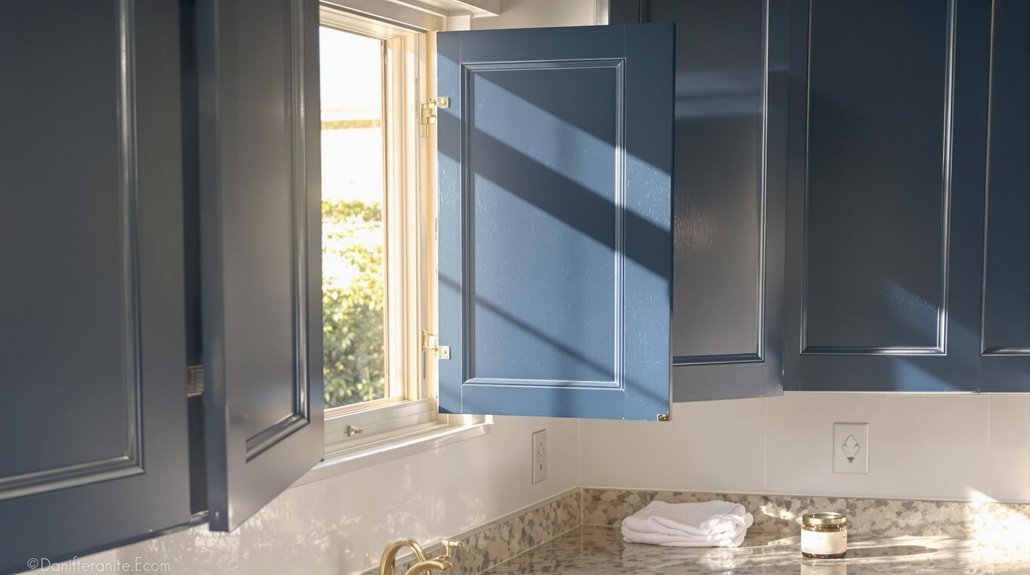
Selecting the perfect color scheme stands as an essential decision when revamping your rental kitchen cabinets. Consider both your personal style and the psychological impact of different colors - warm tones like reds and yellows create an inviting atmosphere that stimulates appetite, while cool blues and greens promote a sense of calm and tranquility.
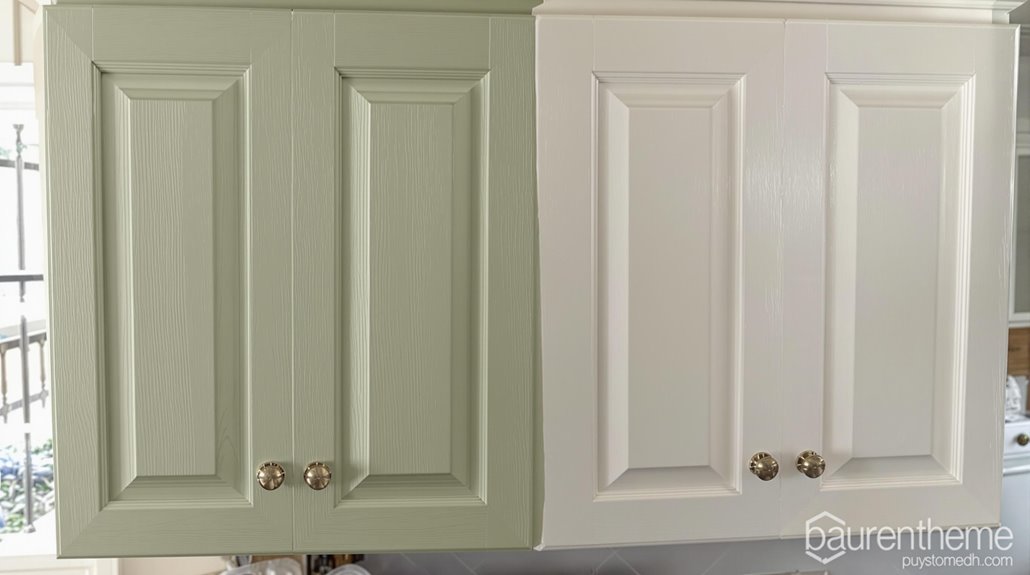
Before committing to a color, assess your kitchen's existing elements, including countertops, flooring, and appliances. Use color swatches to visualize how different shades interact with your space's natural and artificial lighting. For rental properties, neutral tones often provide versatility and landlord approval, while still allowing for personality through strategic accent colors. Test your chosen colors on sample boards to guarantee they achieve your desired effect and complement the overall kitchen design.
Preparing Cabinets for Paint
Proper preparation of your cabinet surfaces serves as the foundation for a successful paint job. Begin by thoroughly cleaning all cabinet surfaces with warm water and gentle dish soap to remove grease, dirt, and food residue. Once cleaned, lightly sand the surfaces to create a smooth base that promotes ideal paint adhesion.
Remove all hardware, including handles and hinges, and label them for easy reinstallation later. Apply painter's tape around edges and areas you want to protect from paint. For rental properties, consider using removable paint or consulting your landlord about approved painting methods. Before priming, wipe down surfaces with a tack cloth to remove any remaining dust particles. Apply a high-quality primer designed for cabinet surfaces, allowing adequate drying time between coats.
Hand-Painting Techniques That Work
Successful hand-painting techniques transform ordinary cabinets into personalized masterpieces that enhance your rental kitchen's appeal. Begin by using smooth, even brushstrokes in a single direction, maintaining consistent pressure to avoid visible lines. Practice blending techniques on a sample board first, gradually building layers of paint for depth and richness.
For best results, apply thin coats rather than thick ones, allowing each layer to dry completely. Vary your brushstroke patterns strategically to create subtle texture variations that add visual interest. When working with multiple colors, use wet-edge techniques to blend them seamlessly. Focus particular attention on corners and edges, where precision matters most. Consider using foam rollers for larger flat surfaces to achieve an ultra-smooth finish, switching to fine brushes for detailed areas and trim work.
Creating Depth Through Brushwork
Masterful brushwork techniques elevate a plain kitchen cabinet into a surface with rich visual depth and character. By varying stroke directions and pressure, painters can create subtle variations that catch light differently, adding dimension to flat surfaces. This layered approach transforms ordinary cabinets into custom pieces with professional appeal.
- Employ crosshatch patterns with light strokes to build texture gradually, allowing each layer to dry completely
- Create subtle gradients by feathering paint edges with a dry brush technique
- Use stippling motions in corners and recessed areas to add shadow depth and dimension
Practice these techniques on sample boards before tackling cabinet surfaces. The key is maintaining consistent pressure while varying stroke patterns to achieve a balanced, professional finish that enhances the kitchen's overall aesthetic appeal.
Decorative Hardware Updates

Even the smallest hardware updates can dramatically transform the look of your rental kitchen cabinets. When selecting new hardware, consider sleek, contemporary options that complement your chosen paint colors while adhering to your rental agreement. Brushed nickel, matte black, or brass finishes can instantly modernize painted cabinets without permanent alterations.
Focus on easily reversible changes by choosing hardware with the same mounting configuration as the existing pieces. This guarantees minimal damage to cabinet faces and simple restoration when your lease ends. Consider mixing knobs and pulls for visual interest, but maintain consistency in finish and style throughout. For vintage-inspired kitchens, glass or ceramic knobs add character, while streamlined bar pulls suit modern aesthetics, enhancing your hand-painted cabinet makeover while respecting rental restrictions.
Temporary Design Elements
Beyond hardware changes, temporary design elements offer numerous ways to personalize your rental kitchen without permanent modifications. Consider removable solutions that create impact while preserving your security deposit. These temporary transformations can dramatically alter your kitchen's appearance without structural changes.
- Apply peel-and-stick wallpaper or temporary wall decals to create accent walls or enhance backsplash areas, choosing patterns that complement your hand-painted cabinet colors
- Install under-cabinet LED strip lighting with removable adhesive backing to brighten workspaces and create ambiance without electrical modifications
- Use decorative contact paper on cabinet interiors and drawer liners to add unexpected pops of color and protect surfaces while maintaining their original condition
These reversible design elements allow creative expression while respecting rental agreements and ensuring full deposit return upon move-out.
Quick-Drying Paint Options

Quick-drying paint solutions offer an efficient way to transform rental kitchen cabinets without extended disruption to daily life. Modern water-based acrylic paints provide excellent coverage and dry within hours, making them ideal for rental renovations. These paints also offer superior durability and easy cleanup compared to traditional oil-based options.
| Paint Type | Dry Time | Best Features |
|---|---|---|
| Chalk Paint | 1-2 hours | No primer needed, matte finish |
| Acrylic Latex | 2-4 hours | Durable, easy cleanup |
| Milk Paint | 30 minutes | Natural ingredients, vintage look |
| Cabinet Enamel | 4-6 hours | Hard finish, scratch-resistant |
| Hybrid Paint | 2-3 hours | Low VOC, self-leveling |
Select paints with built-in primers to reduce application time and choose light colors that typically require fewer coats. Consider using small foam rollers for faster, even coverage across large cabinet surfaces.
Protecting Your Security Deposit
While updating your rental kitchen with paint can transform the space, protecting your security deposit requires careful planning and documentation. Before beginning any cabinet painting project, obtain written permission from your landlord detailing allowed modifications and specific requirements for restoration upon move-out.
- Document the kitchen's original condition through detailed photographs and videos, including close-ups of cabinet surfaces, hardware, and any existing damage
- Keep all communication with your landlord in writing, including approved paint colors, brands, and techniques
- Save receipts for materials and maintain samples of original paint colors for potential restoration
Consider using removable paint options or peel-and-stick materials that leave no permanent changes. If restoration is required, factor these costs into your project budget to guarantee your security deposit remains protected.
Easy Cabinet Maintenance Tips

Maintaining your freshly painted rental kitchen cabinets requires consistent care and attention to preserve their beauty and durability. Regular maintenance not only protects your investment but also guarantees compliance with rental agreements while maximizing the longevity of your cabinet makeover.
| Maintenance Task | Frequency | Tools Needed |
|---|---|---|
| Surface Dusting | Weekly | Microfiber cloth |
| Gentle Cleaning | Monthly | Warm water, dish soap |
| Hardware Check | Quarterly | Screwdriver |
| Touch-up Paint | As needed | Original paint, small brush |
| Deep Clean | Bi-annual | Cabinet cleaner, soft sponge |
Implement a gentle cleaning routine using a mixture of warm water and mild dish soap. Avoid harsh chemicals or abrasive materials that could damage the paint finish. Always dry surfaces thoroughly after cleaning to prevent moisture damage, and address any chips or scratches promptly to maintain the professional appearance.
Restoring Original Cabinet Appearance
Rental agreements often require tenants to restore cabinets to their original condition before moving out, making it essential to document and preserve the initial cabinet appearance. Before making any modifications, photograph cabinets thoroughly and keep paint samples or color codes of the original finish for future reference.
- Create a detailed cleaning log to track maintenance activities and preserve cabinet integrity using gentle, non-abrasive cleaners
- Store original hardware in labeled bags if replaced, ensuring all pieces are intact for reinstallation
- Keep touch-up supplies matching the original finish for addressing wear and minor damages promptly
When restoring cabinets, sand surfaces carefully to remove hand-painted designs, then apply primer and original color matching paint. Use high-quality Benjamin Moore or Sherwin-Williams products for a professional finish that meets landlord requirements.
Frequently Asked Questions
Can I Paint Over Previous Hand-Painted Designs Without Stripping the Cabinets?
Yes, you can paint over previous hand-painted designs, but proper preparation is essential. Start by cleaning the surface thoroughly and lightly sanding to create a smooth base. Apply a high-quality primer specifically designed for painted surfaces, which will help the new paint adhere better. Once the primer dries, apply your chosen paint color in thin, even coats for ideal coverage and durability.
How Do Different Humidity Levels Affect the Cabinet Painting Process?
Paint drying time can increase by up to 300% in humidity levels above 70%. High humidity greatly impacts the cabinet painting process by extending drying times and potentially causing surface imperfections. For best results, maintain indoor humidity between 40-50% using dehumidifiers or air conditioning. Lower humidity levels guarantee proper paint adhesion and curing, while excessive moisture can lead to bubbling, streaking, or peeling of the finish.
Will Cabinet Paint Odors Affect Food Stored in Nearby Cabinets?
Paint odors can potentially affect food stored in nearby cabinets during the painting process. To protect your food items, remove all contents from cabinets and store them elsewhere until the paint fully cures. Even with low-VOC paints, it's recommended to wait 24-48 hours before replacing food items. Guarantee proper ventilation during painting and curing to minimize any risk of odor absorption into stored goods.
What's the Best Way to Fix Brush Marks After Paint Has Dried?
To fix dried brush marks, start by lightly sanding the affected areas with fine-grit sandpaper (220-320 grit). Clean the surface thoroughly to remove dust, then apply a thin layer of paint using a high-quality brush or foam roller. For best results, use paint conditioner or extender to slow drying time, allowing the paint to level naturally. Multiple thin coats will provide a smoother finish than one thick coat.
Can I Achieve a Distressed Look Without Damaging the Original Cabinet Surface?
Studies show that distressed finishes can increase home value by up to 15% when done professionally. You can achieve a distressed look safely by using controlled techniques like dry brushing, rubbing candle wax before painting, or strategic sanding of dried paint. Apply a base coat, then selectively sand edges and corners with fine-grit sandpaper. Finish with a protective sealant to preserve both the distressed effect and original surface.
Conclusion
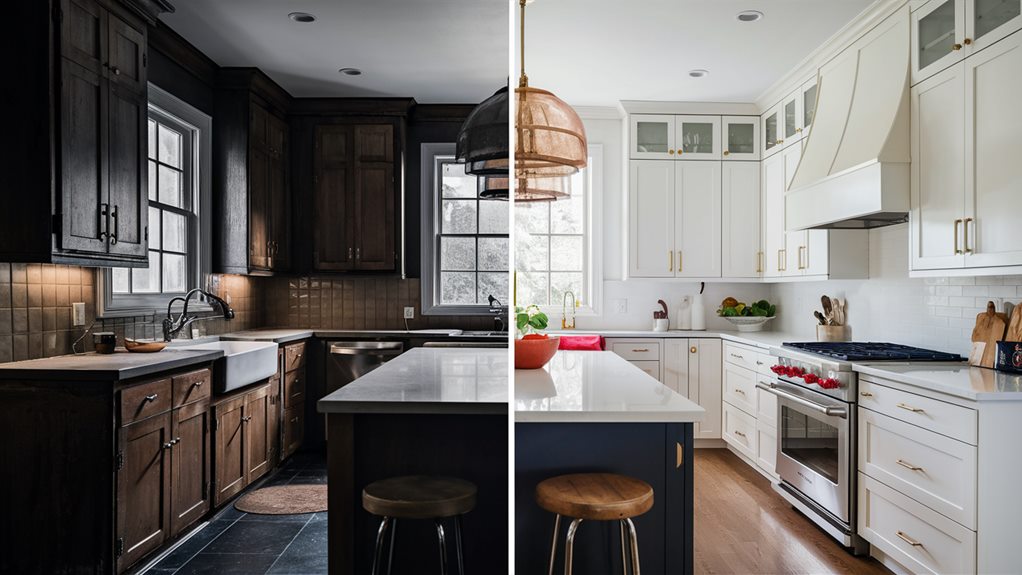
While some property managers express concern about painted cabinets, careful preparation and execution can transform rental kitchens without permanent alterations. Using removable paint options and proper techniques guarantees both aesthetic improvement and complete restoration capability. When combined with thorough documentation and professional-grade materials, hand-painted cabinets offer a cost-effective solution that preserves security deposits while delivering the visual appeal modern renters seek in their living spaces.
