How To Prepare Kitchen Cupboards For Painting
Are your kitchen cupboards in need of a fresh new look? Painting them is a great way to transform the entire look and feel of your kitchen without breaking the bank. But before you can start painting, it's important to properly prepare your cupboards to ensure a smooth and long-lasting finish. In this article, we will guide you through the step-by-step process of how to prepare your kitchen cupboards for painting. The first step in preparing your kitchen cupboards for painting is removing any hardware and doors. Take off all knobs, handles, hinges, and other accessories from the cabinets. This will make it easier for you to clean and sand the surfaces later on. Next, thoroughly clean the cupboards using a mild detergent or degreaser to remove any dirt or grime that may have built up over time. Once they are clean, lightly sand the surfaces with fine-grit sandpaper to create a rough texture that will help the paint adhere better. By following these initial steps, you'll be well on your way to achieving professional-looking painted kitchen cupboards.

Key Takeaways

  • Choose the appropriate painting technique based on the size and precision required for the area.
  • Consider the impact of color selection on the overall look and style of the kitchen.
  • Apply a protective finish, such as high-quality polyurethane or varnish, to ensure the longevity and appearance of the painted cupboards.
  • Take proper care during the application of sealant and buffing to maintain the durability and visual appeal of the cupboards.

Removing Cabinet Hardware and Doors

Now it's time for you to remove those cabinet hardware and doors, giving your kitchen cupboards a fresh canvas to work with. Start by prepping the surfaces before taking off any hardware or doors. Use a degreaser or a mild detergent to clean the cabinets thoroughly, making sure to remove any dirt, grease, or grime that may have accumulated over time. This step is essential as it ensures proper adhesion of the new paint and prevents any old paint from peeling off later. Once the surfaces are clean, you can begin removing the old paint from the cabinet doors and drawer fronts. Depending on the type of paint used previously, you may need to use different methods such as sanding or using a chemical stripper. If there's only a thin layer of paint or varnish on the surface, sanding with medium-grit sandpaper should suffice. However, if there are multiple layers of thick paint, a chemical stripper might be necessary for easier removal. After removing the old paint and ensuring that all surfaces are smooth and even, it's time to transition into cleaning and sanding the surfaces further. This step involves using fine-grit sandpaper to lightly sand all areas that will be painted. Sanding helps create a rough texture on the surface, allowing better adhesion for your new coat of paint. Remember to wipe away any dust generated from sanding before moving forward with painting preparations. By taking these initial steps of prepping surfaces and removing old paint through cleaning and sanding techniques, you're now ready to move onto preparing your kitchen cupboards for their fresh coat of color.

Cleaning and Sanding the Surfaces

To properly ready the surfaces, you'll need to make sure they are thoroughly cleaned and sanded. Prepping the surfaces is a crucial step in preparing kitchen cupboards for painting. Start by removing any dirt, grease, or grime from the cabinet doors and frames. Use a mild detergent mixed with warm water and a sponge or cloth to scrub away any buildup. Pay special attention to areas near the stove or sink where grease tends to accumulate. Once clean, rinse off any soap residue and allow the surfaces to dry completely. After cleaning, sanding is essential to achieve a smooth and even finish on your kitchen cupboards. Sanding helps remove any existing paint or varnish that could hinder adhesion of the new paint. It also helps create a rough surface that allows better paint adherence. Use medium-grit sandpaper (around 120-150 grit) and sand in the direction of the wood grain. Be sure to wear protective goggles and a dust mask when sanding to avoid breathing in dust particles. Thoroughly prepping surfaces by cleaning and sanding ensures that the new paint will adhere properly and provide long-lasting results. After completing this step, you can move on to filling in any holes or imperfections before applying primer and paint. This next section will guide you through filling in these areas seamlessly without leaving noticeable blemishes on your kitchen cupboards.

Filling in any Holes or Imperfections

Once you've cleaned and sanded the surfaces, it's time to tackle any holes or imperfections in your cabinet doors and frames. Here are three steps to help you repair scratches and smooth out rough surfaces:
  1. Fill in the holes: Start by filling any visible holes with wood filler. Use a putty knife to apply the filler, making sure to fill the hole completely. Once applied, smooth out the surface using the putty knife or sandpaper. Allow the filler to dry according to the manufacturer's instructions before moving on.
  2. Repair scratches: To repair scratches, use a wood touch-up marker that matches the color of your cabinets. Apply the marker directly onto the scratch, following its direction. Then use a clean cloth to gently rub over it, blending it into the surrounding area. If there are deeper scratches, you may need to use wood putty instead of a marker.
  3. Smooth out rough surfaces: After filling in holes and repairing scratches, it's important to ensure that all surfaces are smooth before painting. Use fine-grit sandpaper or a sanding block to gently sand down any rough areas or uneven patches on your cabinets. Be careful not to oversand and remove too much material.
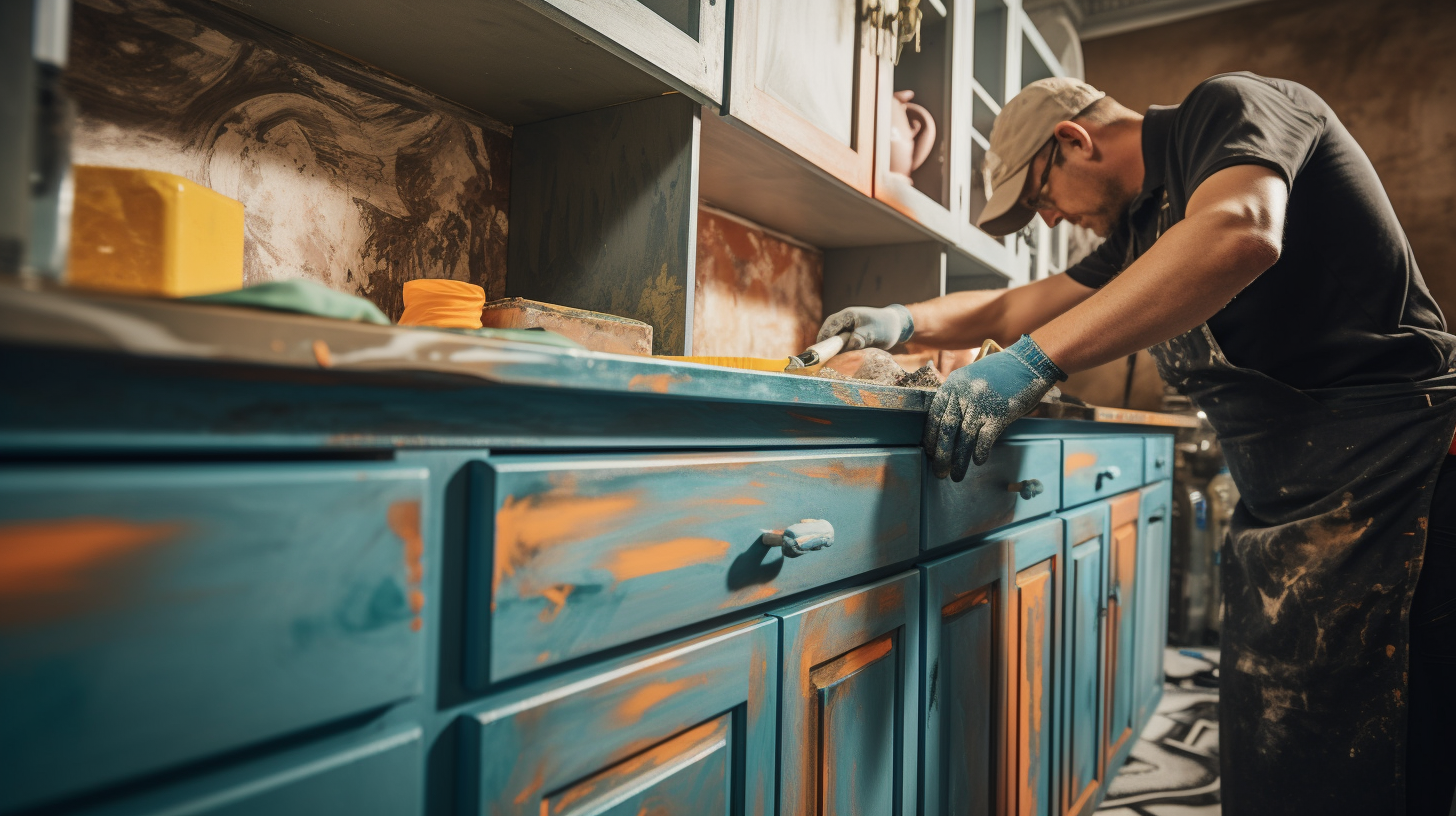
Now that you have filled in any holes or imperfections and smoothed out rough surfaces on your kitchen cupboards, you can move on to applying primer for a flawless paint job. Start by applying a thin and even coat of primer to the entire surface of the cabinets, using a paintbrush or roller. This will create a smooth and adhesive base for the paint, ensuring a professional-looking finish. Allow the primer to dry completely before moving on to the next step.

Applying Primer to the Cupboards

First, you'll want to make sure your cupboards are prepped and ready for a flawless paint job by applying a thin and even coat of primer. Before applying the primer, it's important to prep the surfaces properly. Start by cleaning the cupboards thoroughly with a mild detergent and water to remove any grease or grime. Next, sand down any rough spots or imperfections on the surface using fine-grit sandpaper. This will help create a smooth and even base for the primer to adhere to. Once the surfaces are prepped, it's time to select an appropriate primer for your kitchen cupboards. Look for a high-quality primer that is specifically designed for use on wood surfaces. The type of wood your cupboards are made of will also determine the kind of primer you should use. For example, if you have oak cupboards, choose a primer that is compatible with oak wood. In the next section about choosing the right paint and tools for your project, you'll need to consider factors such as color options and finish types. By following these steps in preparing and priming your kitchen cupboards, you're well on your way to achieving professional-looking results in no time.

Choosing the Right Paint and Tools

Now that you've prepped your cupboards, it's time to explore a world of color options and finishes for a paint job that'll transform your kitchen. Choosing the right color scheme is essential to achieve the desired look and feel. Consider the overall aesthetic of your kitchen and the style you want to create. Whether you prefer a classic white or want to make a bold statement with vibrant colors, take some time to research different color palettes that complement your existing decor. Properly prepping the surfaces is equally important in achieving a professional-looking paint job. Make sure to clean the cupboards thoroughly before painting by wiping them down with a mild detergent and warm water solution. This'll remove any grease, dirt, or grime that may affect the adhesion of the paint. Additionally, sanding the cupboards lightly can help create a smooth surface for better paint application. When it comes to choosing the right tools for painting your cupboards, consider using high-quality brushes or rollers specifically designed for cabinets. These tools'll ensure smoother application and minimize brush strokes or roller marks on the finished surface. It's also crucial to select paint specifically formulated for kitchen cabinets as they're more durable and resistant to moisture and stains. With your color scheme chosen and surfaces properly prepped, you're now ready to move on to painting the cupboards themselves. Remember that preparation is key in achieving excellent results, so take your time during this step before diving into applying paint onto your newly prepared surfaces.

Painting the Cupboards

To achieve a stunning transformation, it's time to dive into giving your cupboards a fresh coat of paint. Before you start painting, make sure you have all the necessary tools ready. You'll need a good quality paintbrush or roller, painter's tape, drop cloths to protect your countertops and floors, and sandpaper for prepping the surface. When it comes to painting techniques, there are two main options: brushing and rolling. Brushing allows for better control and precision in smaller areas or intricate details, while rolling is faster and more efficient for larger surfaces. Whichever technique you choose, make sure to apply smooth and even strokes to avoid visible brush or roller marks. Now let's talk about color selection. The color of your kitchen cupboards can greatly impact the overall look and feel of your kitchen. If you want a timeless and classic look, neutral colors like white, cream, or gray are great choices. For a more bold and modern statement, consider vibrant hues like navy blue or emerald green. Don't be afraid to experiment with different colors that complement your kitchen decor. As you finish painting the cupboards, it's important to transition into adding a protective finish without delay. This will help seal the paint and protect it from everyday wear and tear in the kitchen environment. So let's move on to the next step of adding a protective finish to ensure your newly painted cupboards stay looking fresh for years to come.

Adding a Protective Finish

Ensure that your newly painted cupboards stay looking fresh for years to come by adding a protective finish that will shield them from everyday wear and tear, keeping them in pristine condition. To apply the sealant, start by selecting a high-quality polyurethane or varnish specifically designed for use on kitchen cabinets. Before applying the sealant, make sure the paint on the cupboards is completely dry. Use a clean brush or roller to evenly coat the entire surface of each cupboard with the sealant, working in long, smooth strokes. Allow the first coat to dry according to the manufacturer's instructions before applying a second coat for added protection. Once you have applied the sealant, it's important to buff the finish to achieve a smooth and glossy look. Use fine-grit sandpaper or steel wool to lightly sand any rough areas or imperfections on the surface of the cupboards. Be careful not to sand too aggressively as this may remove some of the protective sealant. After sanding, wipe away any dust with a clean cloth. To further enhance and protect your newly painted cupboards, consider adding additional layers of wax or polish after buffing. This will provide an extra layer of protection against stains and moisture while also giving your cupboards a beautiful shine. Apply the wax or polish according to its specific instructions and allow it to dry completely before using your freshly finished kitchen cupboards. By following these steps and taking proper care of your newly painted cupboards, you can ensure they stay looking their best for years to come. Adding a protective finish not only increases their durability but also enhances their appearance, making them a focal point in your kitchen. So take your time when applying the sealant and buffing it out – it'll be well worth it in terms of longevity and visual appeal!

Frequently Asked Questions

How do I remove stubborn grease and grime from my kitchen cupboards before painting?

To remove stubborn grease and grime from your kitchen cupboards before painting, use the best cleaning products. Opt for degreasers or vinegar and water solution. Scrub gently with a sponge or cloth to ensure a clean surface for painting.

Can I paint over laminate cupboards or do I need to use a special type of paint?

To paint laminate cupboards, you'll need to use a special type of paint specifically made for laminate surfaces. Regular paint won't adhere properly and may peel or chip over time.

What type of primer should I use for my kitchen cupboards?

For your kitchen cupboards, use a high-quality bonding primer or an oil-based primer to ensure good adhesion. Apply thin, even coats and sand between each coat for a smooth finish.

Should I use a brush or a roller to apply paint to my cupboards?

To apply paint to your cupboards, consider using a brush or roller. A brush allows for more precision and can reach tight corners, while a roller is faster and creates a smoother finish.

How long should I wait before applying a protective finish to my newly painted cupboards?

Wait at least 24 hours before applying a protective finish to your newly painted cupboards. This allows for proper drying time after painting, ensuring a durable and long-lasting result.

Conclusion

In conclusion, preparing your kitchen cupboards for painting is a crucial step to achieve a professional and long-lasting finish. By following the steps outlined in this article, you can ensure that your cabinets are properly cleaned, sanded, and primed before applying paint. Firstly, removing cabinet hardware and doors is essential to ensure that every surface is accessible for cleaning and painting. This will also prevent any accidental paint drips on the hardware or hinges. Secondly, thoroughly clean and sand the surfaces to remove any grease, grime, or existing paint. This will create a smooth and even base for the new coat of paint. Next, fill in any holes or imperfections with wood filler or putty. This step is important to achieve a seamless appearance after painting. Once the surfaces are prepped, apply primer to the cupboards using a brush or roller. Primer helps the paint adhere better and provides an extra layer of protection against stains and peeling. Choosing the right paint color is crucial for achieving your desired look in your kitchen. Consider factors such as lighting and overall aesthetic when selecting your paint color. Lastly, use high-quality brushes or rollers to apply the paint evenly on all surfaces of the cupboards. Finally, adding a protective finish such as clear varnish or polyurethane will help protect your newly painted cupboards from wear and tear caused by daily use in the kitchen. By following these steps meticulously, you can transform your kitchen cupboards into beautiful focal points in your home while ensuring their durability for years to come.

Leave a Reply

Your email address will not be published. Required fields are marked *