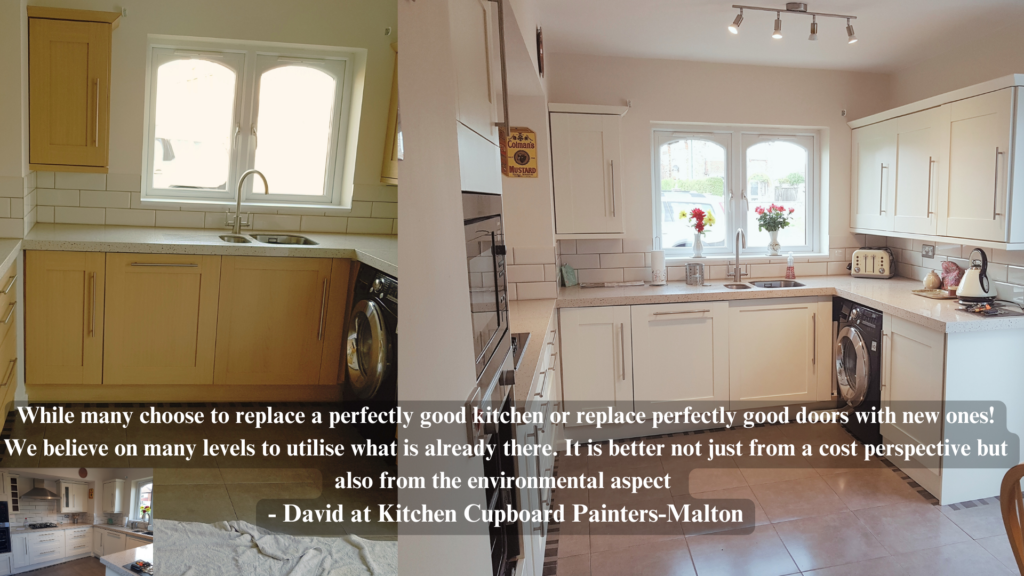
The Quick Ultimate Guide to Painting Kitchen Cabinets, by Kitchen Cabinet Painters-Malton, offers a comprehensive resource for individuals looking to transform their kitchen cabinets. This informative and authoritative guide covers essential aspects of the painting process, including selecting the appropriate paint, preparing the surface, applying the paint, and adding finishing touches.
It emphasises the cost-effectiveness and versatility of painting cabinets, allowing individuals to achieve their desired look without the need for expensive replacements. The guide recommends specific paint brands known for their durability and versatility in different finishes, ensuring long-lasting results.
Proper preparation techniques, such as cleaning and degreasing the surface and filling cracks or holes, are highlighted, along with the option of using a primer. The guide also suggests popular color choices, such as black and grey, for kitchen cabinets.
With their wide range of paints and supplies available its challenging to know which to choose but we will guide you through.
PRO TIP: This guide is really to help those who are wanting to save costs, we know times are had for some or those that have the time and do not need to use the services of Kitchen Cupboard Painters-Malton. Also if you have an questions please ask its ok we want you to have a nice kitchen again whether we do it or you do it.
Little add on we dont actually use all these paints or methods but nearly 40 years experience helps us a bit ( I know I look so young). We use Farrow and Ball Paints but while we find them great we use additives to make them work most DIYer wont get a good finish with Farrow and Ball Paints
Key Takeaways
- The best paint for kitchen cabinets depends on the desired finish, with options such as matt, eggshell, silk, soft sheen, satin, and gloss.
- Zinsser Allcoat, Dulux Diamond Satinwood, Tikkurila Helmi, and Isomat Isolac Aqua are recommended paints for their durability and various finishes. Also my top Paint Choice
- Proper preparation is key, including removing doors and brackets ( if you are goin that route some warnings though), cleaning and degreasing the surface, and filling cracks or holes.
- Trade paints are recommended for better quality and durability, and black and grey are popular colour choices for kitchen units. I prefer green at the moment but we are all different thankfully
Choosing the Right Paint
The selection of the appropriate paint for kitchen cabinets is crucial in achieving the desired finish, and options such as Zinsser Allcoat, Dulux Diamond Satinwood, Tikkurila Helmi, and Isomat Isolac Aqua offer durability and a variety of finishes to choose from.
When considering paint finishes, it is important to weigh the pros and cons of each. Matt finishes provide a smooth and non-reflective look but may be less resistant to stains and may require more maintenance. Eggshell and silk finishes offer a slight sheen and are easier to clean, but they may show imperfections more easily. Soft sheen finishes strike a balance between durability and aesthetics, while satin and gloss finishes provide high shine and exceptional durability but can be prone to showing scratches and imperfections.
When selecting the perfect color for kitchen cabinets, it is recommended to choose neutral shades like black or grey, as they offer versatility and a timeless appeal. Additionally, it is advisable to consider personal taste and style, as well as the overall kitchen design and color scheme.
Kitchen Cupboard Painters-Malton we prefer a satin finish, applies easy and cleans easy is more forgiving if applied by a DIY, we achieve a top finish by adding our own additives to give the smoothest of finishes
Preparing the Surface
To properly prepare the surface for painting, it is essential to:
- Remove the cabinet doors and brackets *
- Thoroughly clean and degrease the surface
- Address any cracks or holes that may be present
This ensures a smooth and even application of paint, as well as a longer-lasting finish.
When preparing kitchen cabinets for painting, sanding the surface is of utmost importance. This helps to:
- Create a rough texture that allows the paint to adhere better
- Result in a more durable finish
- Remove any existing paint or varnish that may be peeling or chipping
In addition to sanding, using a primer is crucial for achieving a professional-looking result. There are different types of primers available for kitchen cabinets, such as:
- *Oil-based primers: known for their excellent adhesion and stain-blocking properties
- Water-based primers: easier to clean up and have less odor
The choice of primer depends on the condition of the cabinets and the desired outcome.
*We never remove doors if we can help, the main problem is the hinges that are rebated into the wood or chipboard often dont screw back in the same. You can end up with wonky doors or have to fill the rebates and try and make a new screw hole - so leave in place
*last resort using oil based anything we always use water based as much as possible- occasionally of a stain blocker is needed we would use a stinking oil based ( they do stink but use vinegar on a plate it absorbs the smell)
Applying the Paint
When applying paint to kitchen cabinets, it is important to ensure a smooth and even application for a professional-looking finish that will last.
To achieve this, there are common painting mistakes that should be avoided. One mistake is not properly preparing the surface before painting, such as failing to clean and degrease the cabinets. This can result in poor adhesion and a less durable finish. ( also to let them fully dry).
Another mistake is using the wrong type of brush or roller, which can lead to streaks or brush marks on the cabinets. To avoid these mistakes and achieve a smooth and professional finish, it is recommended to use a high-quality synthetic bristle brush or a mini roller. You need to spend and buy really top quality brushes, they make a huge difference.
Additionally, applying thin coats of paint and allowing each coat to dry completely before applying the next can help to prevent drips and uneven coverage. Watch those corners for drips!
Taking the time to properly prepare the surface, use the right tools, and apply the paint correctly will ensure a professional-looking finish for your kitchen cabinets.
Finishing Touches
*Achieving a professional-looking finish for kitchen cabinets requires attention to detail in applying the paint and completing the finishing touches. Once the paint has dried, it is essential to choose cabinet hardware that complements the overall design.
This includes selecting handles, knobs, or pulls that match the style and color scheme of the cabinets. The hardware should not only be aesthetically pleasing but also functional and durable.
Additionally, applying a protective top coat is crucial to enhance the longevity and durability of the painted cabinets. A top coat provides an extra layer of protection against scratches, stains, and daily wear and tear. It also helps to seal the paint and create a smooth, uniform finish.
When selecting a top coat, consider options such as a clear polyurethane or a water-based varnish that is specifically designed for kitchen cabinets. Applying the top coat should be done carefully and evenly to ensure a flawless result.
*when and if fitting new handles they often can be used in the same hole fitting as the previous handles-but not always check and fit BEFORE STARTING TO PAINT. You really dont want to be drilling new holes and filling old on your sparkly new paintwork.
Frequently Asked Questions
How do I choose the right color for my kitchen cabinets?
Choosing the right color for kitchen cabinets involves careful consideration to achieve the perfect shade. Start by assessing the overall style and color scheme of your kitchen. Consider factors such as natural light, existing fixtures, and appliances.
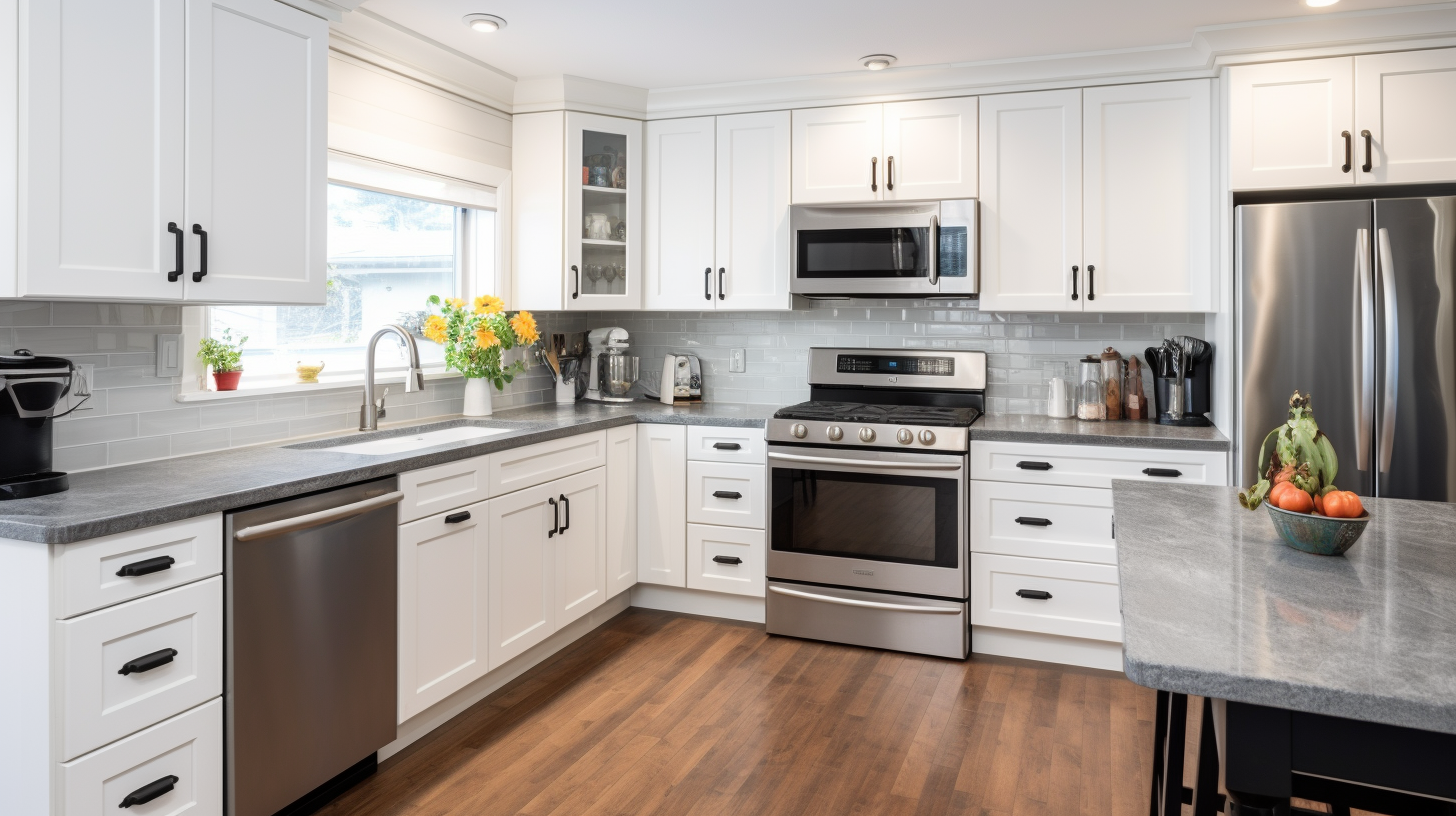
Neutral colors like white, cream, or gray are versatile and timeless options that can complement various design styles. Additionally, consider the desired mood or atmosphere you want to create in your kitchen.
Some may consider white boring or a safe choice but they work and a splash of colour can be added in the form of plants or a feature wall colour (easy to change a wall colour than repaint your kitchen units again.
Ultimately, selecting the perfect shade for your kitchen cabinets involves balancing personal preference with the overall aesthetic of the space.
Can I paint over laminate or veneer cabinets?
When painting over laminate or veneer cabinets, there are both pros and cons to consider.
A major advantage is the ability to transform the appearance of these cabinets at a lower cost compared to replacing them. However, there are also challenges to achieving a smooth and durable finish.
To ensure success, it is crucial to properly prepare the surface by cleaning and lightly sanding it to promote adhesion. Applying a high-quality primer designed for laminate or veneer surfaces is also recommended.
Additionally, using a paint with good adhesion and durability, such as an acrylic enamel, will help ensure a long-lasting finish. Alternatively have a look at this a light wood laminate we painted using our pro method finished with a Farrow and Ball light Cream Paint

Is it necessary to remove the cabinet doors before painting?
When considering whether to remove cabinet doors before painting, there are pros and cons to consider.
Leaving the doors attached can save time and effort, as well as maintain the original alignment.
However, removing the doors allows for better access and ensures a more thorough paint job.
To properly prep cabinet doors without removing them, it is essential to clean and degrease the surface, fill any cracks or holes, and use painter's tape to protect surrounding areas.
How long does it take for the paint to dry and cure on kitchen cabinets?
The drying and curing process of paint on kitchen cabinets is an important consideration for achieving a quality finish. Drying refers to the process of the paint becoming touch-dry, while curing refers to the hardening and full chemical bonding of the paint.
The drying time can vary depending on factors such as temperature and humidity, typically ranging from a few hours to overnight. However, full curing can take up to several weeks.
To speed up the drying and curing time, it is recommended to ensure proper ventilation, use low-odor paints, and avoid applying thick coats.
What type of brush or roller should I use for painting kitchen cabinets?
Choosing the right brush or roller is crucial for achieving a smooth and even finish when painting kitchen cabinets.
For brush options, a synthetic bristle paint brush is recommended as it offers better control and precision.
When it comes to rollers, a mini roller is preferred as it allows for easier maneuverability in tight spaces.
It is important to select high-quality brushes and rollers to ensure optimal results.
Additionally, using a foam roller can help minimize brush marks and create a more professional-looking finish. Notice we said Foam do not use the shaggy haired rollers unless your trying for a pain effect.
