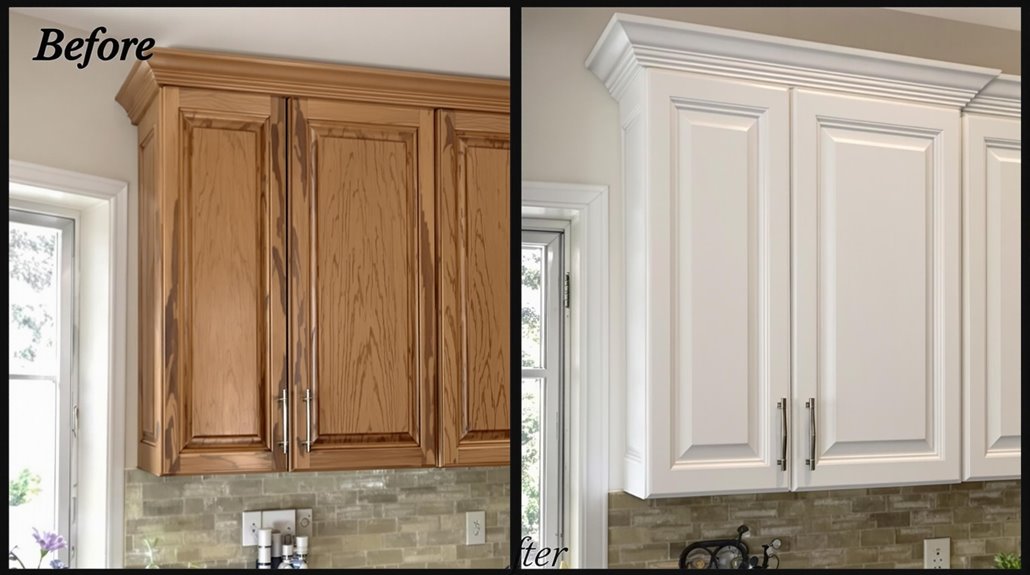
Cabinet refacing offers a cost-effective way to transform your kitchen's appearance, typically saving you 50% compared to full cabinet replacement. You'll maintain your existing layout while upgrading the look with new materials like laminates, wood veneers, or thermofoil. The process takes just 3-5 days and involves removing hardware, preparing surfaces, and applying new materials with precision tools and techniques. With proper planning and a budget of $950-$2,800, you can complete this DIY-friendly project using basic skills and tools. Exploring the essential steps and materials will guarantee your kitchen makeover's success.
- Why Choose Cabinet Refacing
- Planning Your Kitchen Makeover
- Tools For The Job
- Essential Materials Checklist
- Cabinet Surface Preparation Steps
- Measuring and Cutting Guide
- Applying New Cabinet Surfaces
- Hardware Selection Tips
- Paint and Finishing Techniques
- Maintenance and Care
- Budget Planning Strategies
- Frequently Asked Questions
Why Choose Cabinet Refacing
A tired, outdated kitchen doesn't need a complete overhaul to look fresh and modern. Cabinet refacing offers a practical solution that delivers impressive results at roughly half the cost of full cabinet replacement. You'll maintain your kitchen's existing layout while transforming its appearance through new door fronts, drawer faces, and veneer applications.
The cost benefits extend beyond initial savings, as you'll avoid expenses related to demolition, disposal, and extended renovation periods. With numerous design options available, you can select from various materials including durable laminates, elegant wood veneers, or moisture-resistant thermofoil. Whether you're aiming for a contemporary look or traditional aesthetic, refacing allows you to customize your cabinets while maintaining the structural integrity of your existing framework. This DIY-friendly approach typically requires just 3-5 days to complete, minimizing kitchen downtime.
Planning Your Kitchen Makeover
Successful cabinet refacing begins with thorough planning and accurate measurements of your kitchen space. Before diving into your project, you'll need to evaluate your kitchen layout and gather design inspiration from various sources. Take time to reflect on how you'll coordinate your cabinet's new look with existing countertops, appliances, and wall colors.
- Measure all cabinet surfaces twice, including faces, sides, and edges
- Document the location and size of all hardware, hinges, and existing features
- Create a detailed shopping list of materials based on your measurements
- Photograph your current kitchen from multiple angles for reference
- Sketch your desired outcome, including color schemes and finish options
Remember to factor in the cabinet boxes' condition and structural integrity, as they'll need to support your new facing materials throughout the renovation process.
Tools For The Job
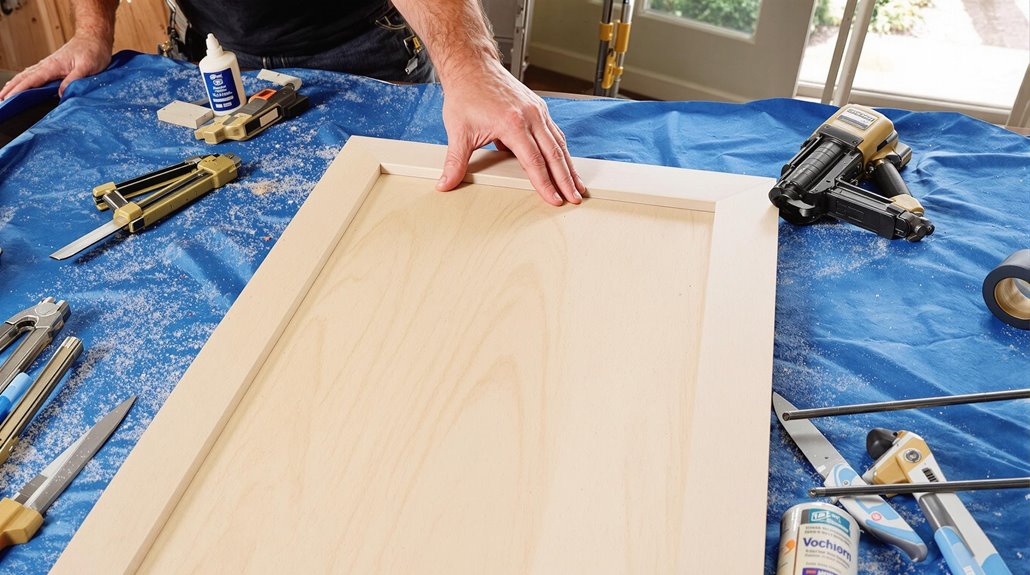
Getting started with cabinet refacing requires an extensive set of tools to guarantee precision and professional-quality results. You'll need a tape measure, circular saw, jigsaw, power drill, utility knife, roller or brush for adhesive application, and a j-roller for smooth veneer installation. Don't forget essential safety equipment like protective eyewear and work gloves for proper tool safety.
Keep your tools well-maintained to secure accuracy throughout your project. You'll want to regularly clean saw blades, sharpen utility knives, and check power tool cords for wear. A screwdriver set, both flathead and Phillips head, will help with hardware removal and installation. For precise cuts, you'll also benefit from having a straightedge guide and carpenter's level. Remember to store your tools properly between work sessions to maintain their effectiveness.
Essential Materials Checklist
For cabinet refacing success, you'll need several essential materials before starting your project. Understanding different material types and surface textures will guarantee peak results for your kitchen transformation. Select materials based on durability, aesthetic appeal, and your budget constraints.
- Premium-grade wood veneer or laminate sheets that match your desired finish, with enough material to cover all visible cabinet surfaces
- Industrial-strength contact adhesive specifically formulated for cabinet refacing applications
- Cabinet-grade plywood or MDF panels for replacement doors and drawer fronts
- Moisture-resistant edge banding to protect exposed edges and create seamless shifts
- High-quality primer and paint or stain that's compatible with your chosen surface material and provides lasting durability
Consider purchasing extra materials to account for potential mistakes or future touch-ups during the refacing process.
Cabinet Surface Preparation Steps
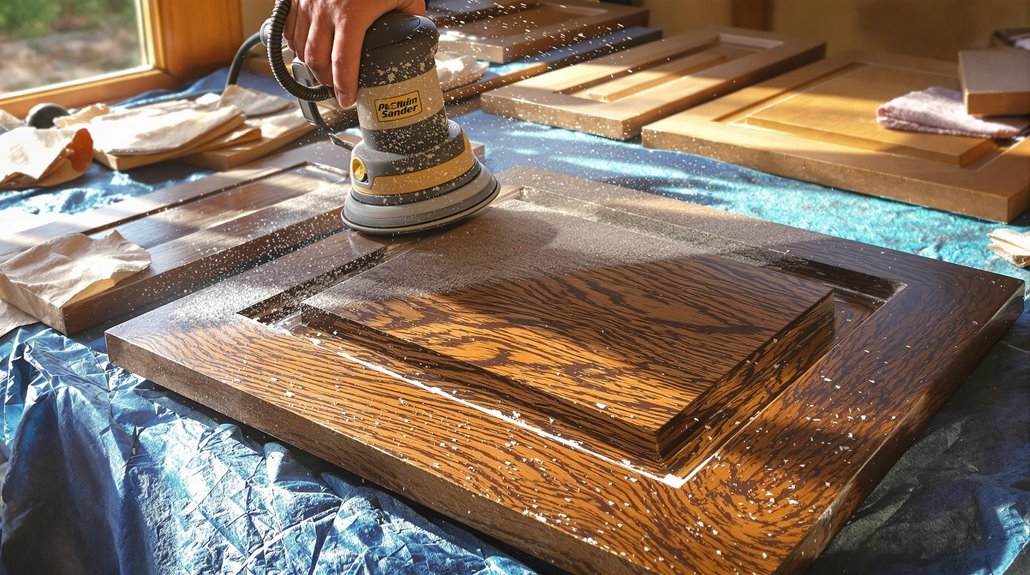
Proper surface preparation forms the foundation of a successful cabinet refacing project. You'll need to begin by removing all hardware, including hinges, handles, and knobs, carefully storing them in labeled bags. Next, implement thorough cleaning techniques using a mixture of warm water and mild detergent to eliminate built-up grease and grime from all cabinet surfaces.
Conduct a detailed surface inspection to identify any damage, holes, or imperfections. Fill these areas with wood filler and sand them smooth once dried. After sanding, wipe down all surfaces with a tack cloth to remove dust particles. Pay special attention to corners and crevices where debris often accumulates. Finally, apply a degreasing agent to guarantee the surfaces are completely clean and ready for the refacing materials.
Measuring and Cutting Guide
With your cabinet surfaces cleaned and prepped, accurate measurements become the cornerstone of your refacing project. You'll need precise measuring techniques for both the cabinet faces and new material cuts. Start by measuring each cabinet surface twice to guarantee accuracy, accounting for any curves or irregularities. When cutting your refacing materials, maintain cutting precision by using a sharp blade and following your marked lines exactly.
- Use a steel measuring tape for accurate dimensions of cabinet faces, sides, and frames
- Mark cutting lines with a carpenter's square to guarantee 90-degree angles
- Add 1/8 inch overhang to all edges for trimming after installation
- Measure twice, cut once - double-check all dimensions before making cuts
- Create a cutting template for repetitive pieces to maintain consistency
Applying New Cabinet Surfaces
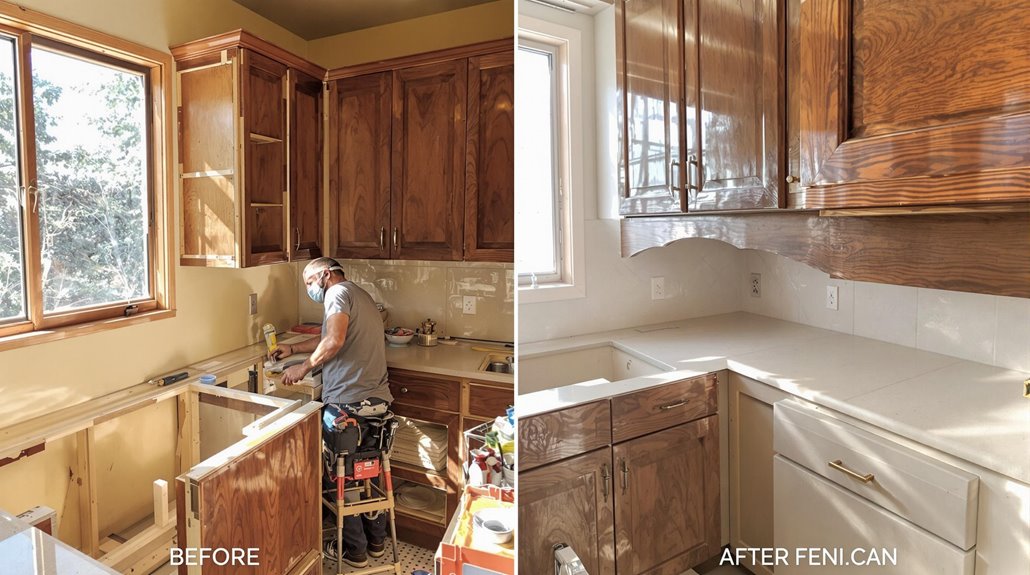
The surface-application process marks a critical turning point in your cabinet refacing project. You'll need to carefully align your chosen surface materials with current design trends while ensuring proper adhesion for lasting results. Begin by applying a thin, even layer of contact adhesive to both the cabinet frame and your new surfacing material, allowing it to become tacky.
Position your surface material carefully, starting from one edge and working across to prevent air bubbles. Use your j-roller to firmly press the material, working from the center outward to eliminate any trapped air. For complex areas around hinges or corners, you'll want to score the material precisely before folding it around edges. Don't rush this process - proper alignment and adhesion now will prevent peeling and damage later.
Hardware Selection Tips
Selecting cabinet hardware presents an opportunity to add personality and functionality to your newly surfaced cabinets. When choosing hardware styles, you'll want to contemplate both aesthetics and functional features that complement your kitchen's design and enhance daily use.
- Choose pulls and knobs that match your kitchen's style - traditional, modern, or transitional
- Contemplate the finish that coordinates with your appliances and fixtures - brushed nickel, oil-rubbed bronze, or matte black
- Select sizes proportional to your cabinet doors - 3-inch pulls for drawers under 24 inches, 4-inch or larger for wider drawers
- Evaluate grip comfort and ergonomics - D-shaped pulls offer better grasp than knobs for frequently used cabinets
- Factor in maintenance requirements - some finishes resist fingerprints better than others
Contemplate installing soft-close hinges during hardware updates to modernize your cabinets' functionality while preventing slamming.
Paint and Finishing Techniques
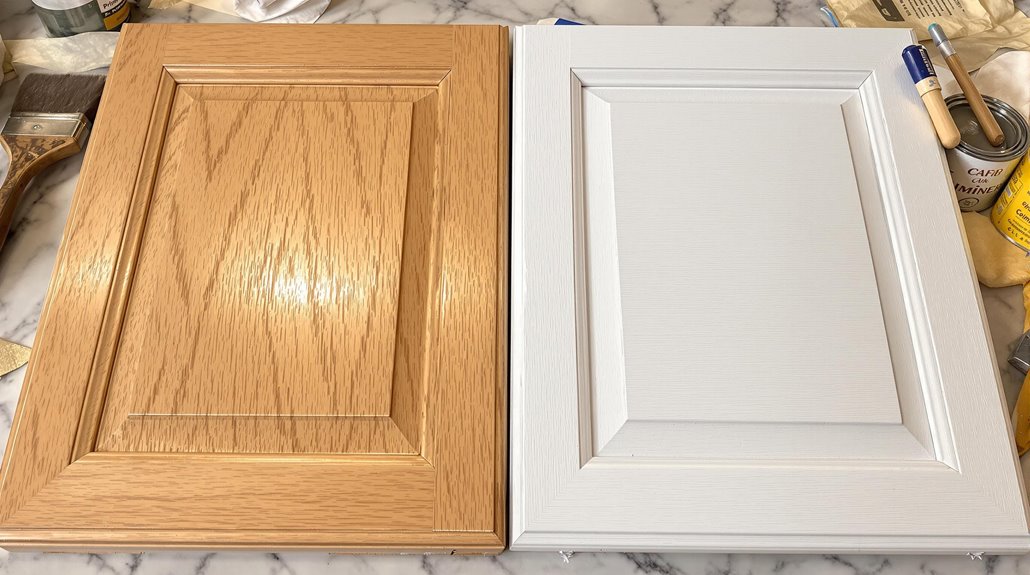
Proper paint application and finishing techniques serve as the cornerstone of a successful cabinet refacing project. You'll need to select high-quality paint that's specifically formulated for cabinets, ensuring durability and a professional finish. Before you begin, sand all surfaces thoroughly and apply a primer designed for your chosen material.
| Step | Technique | Time Required |
|---|---|---|
| Prep | Sand & Prime | 4-6 hours |
| Paint | Spray/Brush/Roll | 2-3 hours |
| Finish | Clear Coat | 1-2 hours |
For the best paint application results, work in thin, even coats using either a high-quality brush, foam roller, or spray system. Allow each coat to dry completely before applying subsequent layers. Don't rush the finishing touches - apply a protective clear coat once the paint has fully cured to enhance durability and create a professional sheen.
Maintenance and Care
Maintaining your newly refaced cabinets requires consistent care and attention to detail for long-lasting results. Regular cleaning techniques and moisture protection measures will guarantee your investment stays beautiful for years to come. Start with gentle, non-abrasive cleaners and avoid harsh chemicals that can damage the finish.
- Wipe spills immediately with a soft, damp cloth to prevent staining and material deterioration
- Use silicone-based furniture polish monthly to protect the surface and maintain shine
- Install cabinet door bumpers to prevent wear from repeated opening and closing
- Keep humidity levels balanced in your kitchen to prevent warping or delamination
- Apply touch-up markers or paint to small scratches promptly to prevent further damage
Implement quarterly deep cleaning sessions using appropriate wood or laminate cleaners, and inspect hardware regularly for loose screws or alignment issues.
Budget Planning Strategies
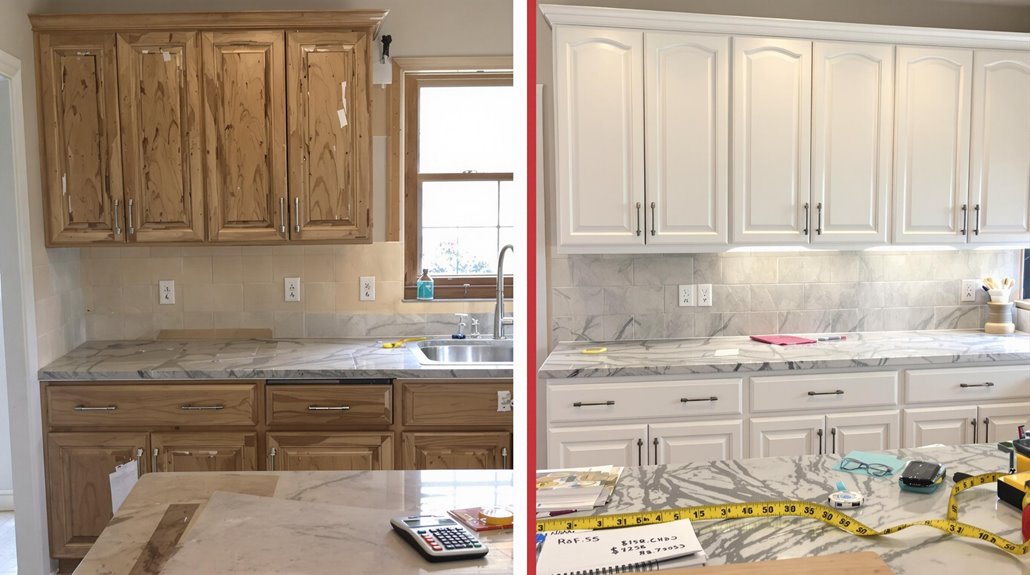
Smart financial planning is essential before starting your cabinet refacing project to avoid unexpected costs and guarantee project completion within budget constraints. Following a detailed budgeting checklist while implementing cost saving tips will help you maintain control over your expenses.
| Budget Category | Estimated Cost | Cost Saving Tips |
|---|---|---|
| Materials | $500-$1500 | Buy in bulk, watch for sales |
| Tools | $200-$600 | Rent vs. buy, borrow tools |
| Hardware | $100-$300 | Choose standard sizes |
| Primers/Paints | $150-$400 | Purchase during promotions |
| Contingency | 15% of total | DIY installation, reuse parts |
You'll need to allocate funds for essential materials while maintaining a reserve for unexpected issues. Consider timing your purchase during seasonal sales and exploring different suppliers to maximize your budget's potential.
Frequently Asked Questions
Can Cabinet Refacing Be Done in Rental Properties?
You'll need to check your rental agreements and obtain written tenant approval before starting any cabinet refacing project. While it's possible to reface cabinets in rental properties, many landlords prohibit permanent alterations to fixtures. Consider using temporary solutions like peel-and-stick veneers or removable contact paper that won't damage the original surfaces and can be easily removed when your lease ends.
How Does Extreme Temperature Affect Refaced Cabinets Over Time?
Temperature fluctuations can create challenging conditions for your refaced cabinets. You'll notice that extreme heat and cold can affect material durability, causing expansion and contraction that might lead to warping or delamination. Laminate surfaces typically withstand temperatures better than wood veneers, while thermofoil offers superior temperature resistance. To protect your investment, you'll want to maintain consistent indoor temperatures and avoid placing heat-generating appliances near cabinet surfaces.
Will Refacing Impact My Home's Resale Value?
You'll likely see a positive impact on your home's resale value with cabinet refacing. Recent resale trends show that updated kitchens are a key selling point, and cost analysis indicates that you can recoup 70-80% of your refacing investment. While not as impactful as a full kitchen remodel, refaced cabinets signal to potential buyers that the home is well-maintained and modernized, making it more marketable.
Can Cabinets With Water Damage Be Successfully Refaced?
Just like a house built on a weak foundation can't stand strong, cabinets with severe water damage aren't suitable candidates for refacing. You'll need to assess the extent of damage first - if there's only surface-level water staining, you can proceed with cabinet restoration by sanding, filling, and sealing before refacing. However, if there's structural damage, warping, or mold, you'll need to replace the affected sections entirely.
Should Internal Cabinet Shelving Be Refaced During the Process?
While refacing internal shelving isn't strictly necessary, you'll gain additional benefits by including it in your project. If your shelves are visible when cabinets are open, refacing them creates a cohesive, professional appearance. You'll also protect the shelving surfaces from future wear and moisture damage. Consider using durable laminate materials that match your exterior refacing for the best long-term results and visual consistency.
